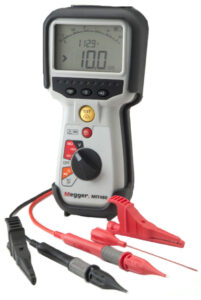
When testing fuel injector coils, there are two primary methods: a resistance check and an insulation check. However, insulation testing applies only to piezoelectric injectors; it cannot be performed on GDI or Port injectors. More on that below. This distinction is important, as an injector may pass a resistance check yet still be faulty.
Here is why
A coil can have proper internal winding resistance while still failing an insulation check. An insulation resistance test (like using a megger) checks for paths for electricity to leak to ground, rather than just checking the continuity of the winding itself. Insulation can break down due to physical damage, contaminants like moisture or oil, or thermal stress, even if the internal electrical resistance of the coil windings remains within normal limits.
- Always consult your vehicle’s service manual for the correct resistance specifications for your specific fuel injectors.
- The engine must be off and the ignition key removed.
- Locate and access the injectors. Disconnect the negative battery terminal for safety before starting.
- Disconnect the electrical connector from the fuel injector you want to test.
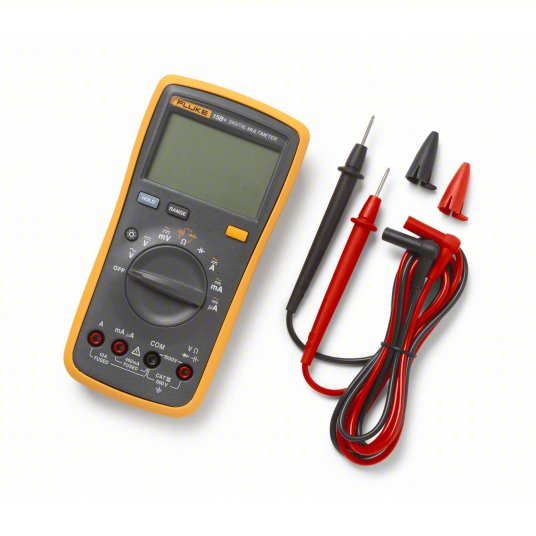
- Set your multimeter to the ohms (Ωcap omegaΩ) setting. A range of 200 or 2k ohms is usually appropriate.
- Touch the multimeter probes to the two metal pins inside the injector’s electrical connector.
- Note the resistance reading. Compare this value to the manufacturer’s specifications.
- High-impedance injectors typically read between 12 and 16 ohms.
- Low-impedance injectors typically read between 1 and 4 ohms.
- Compare all readings. Test each injector and compare the resistance readings. They should all be relatively close to one another, typically within 0.5 ohms.
- Identify a faulty injector. An injector with a reading that is significantly higher or lower than the others or an “open” (O.L.) reading is likely faulty and requires replacement.